Layers
Organise markups into named layers — hide, lock, or reassign markups per discipline or markup pass.
Layers
Organize markups into separate layers for complex documents. Every PDF automatically starts with Layer 0 (Markup) as the default layer.
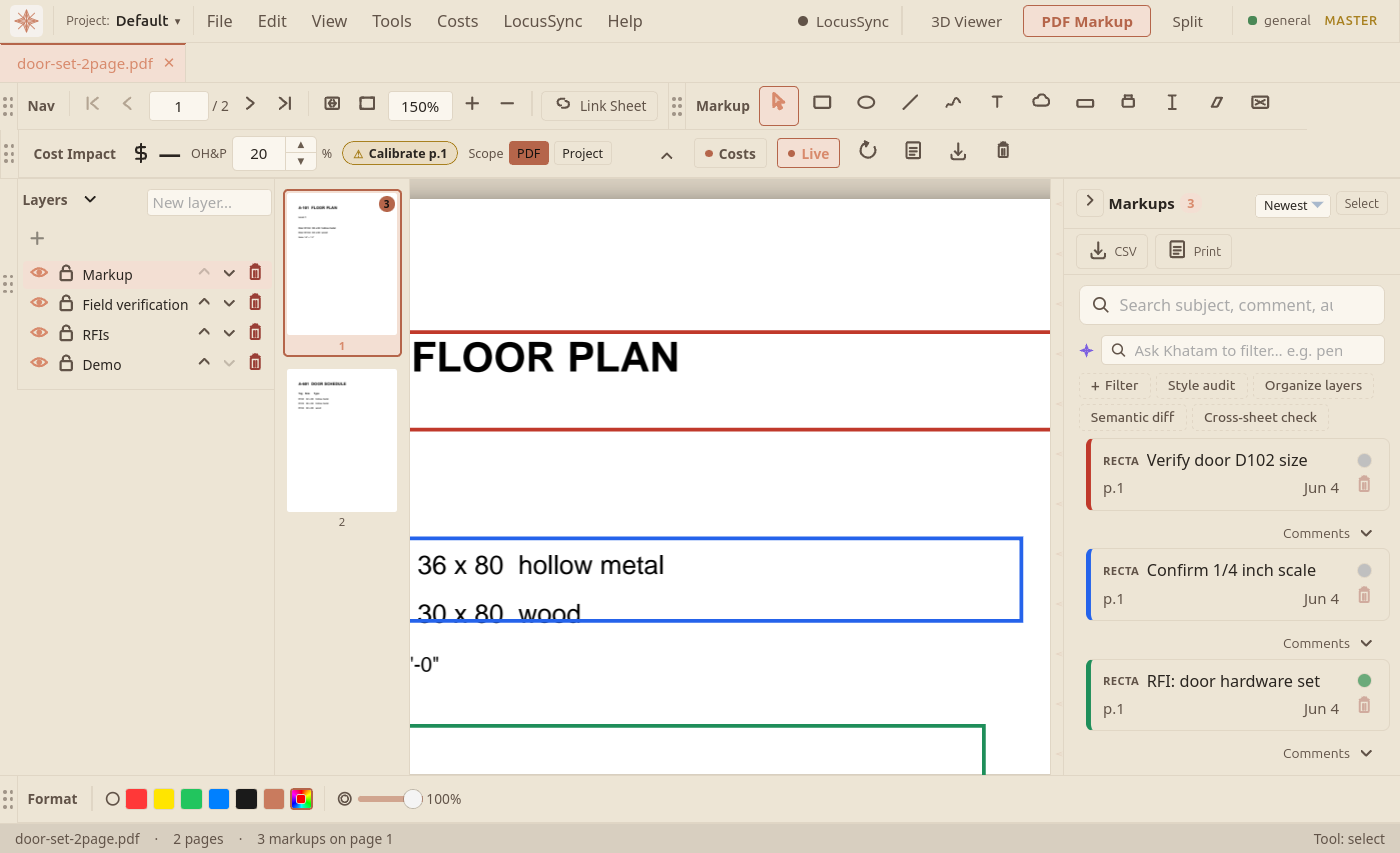
Figure 1 shows the Layers panel docked on the left, with markups split across named layers (Field verification, RFIs, Demo) alongside the default Markup layer. Each layer carries its own visibility and lock state, so you can show or hide a whole class of annotations at once.
Creating Layers
Type a layer name in the input field and click the + button. New markups are placed on the active layer.
Layer Controls
| Key / Control | Action |
|---|---|
| Eye icon | Toggle layer visibility (Visible / Hidden) |
| Lock icon | Toggle layer lock (Locked / Unlocked) |
| ▲ / ▼ | Reorder layers (affects rendering order) |
| ✕ Del | Delete layer (markups move to default) |
Moving Markups Between Layers
To move an existing markup to a different layer:
- Right-click on the markup on the canvas
- Select "Move to Layer" from the context menu
- Choose the target layer from the list
The markup will immediately move to the selected layer and inherit its visibility settings.
Use Cases
- Discipline separation: Architectural, Structural, MEP markups on separate layers
- Review rounds: Each review cycle on its own layer
- Status tracking: Pending vs. Approved markups
- Client presentations: Hide internal review notes, show only final annotations
- Markup ToolsRectangle, ellipse, cloud, text, freehand, highlight, and cutout tools for marking up PDF construction drawings.
- ExportingSave marked-up PDFs, flatten annotations, export BCF for issue exchange, and print clean drawing sets.