Measure Toolbar
Calibrate drawing scale and run linear, area, radius, diameter, angle, polylength, and count measurements on PDFs.
Measure Toolbar
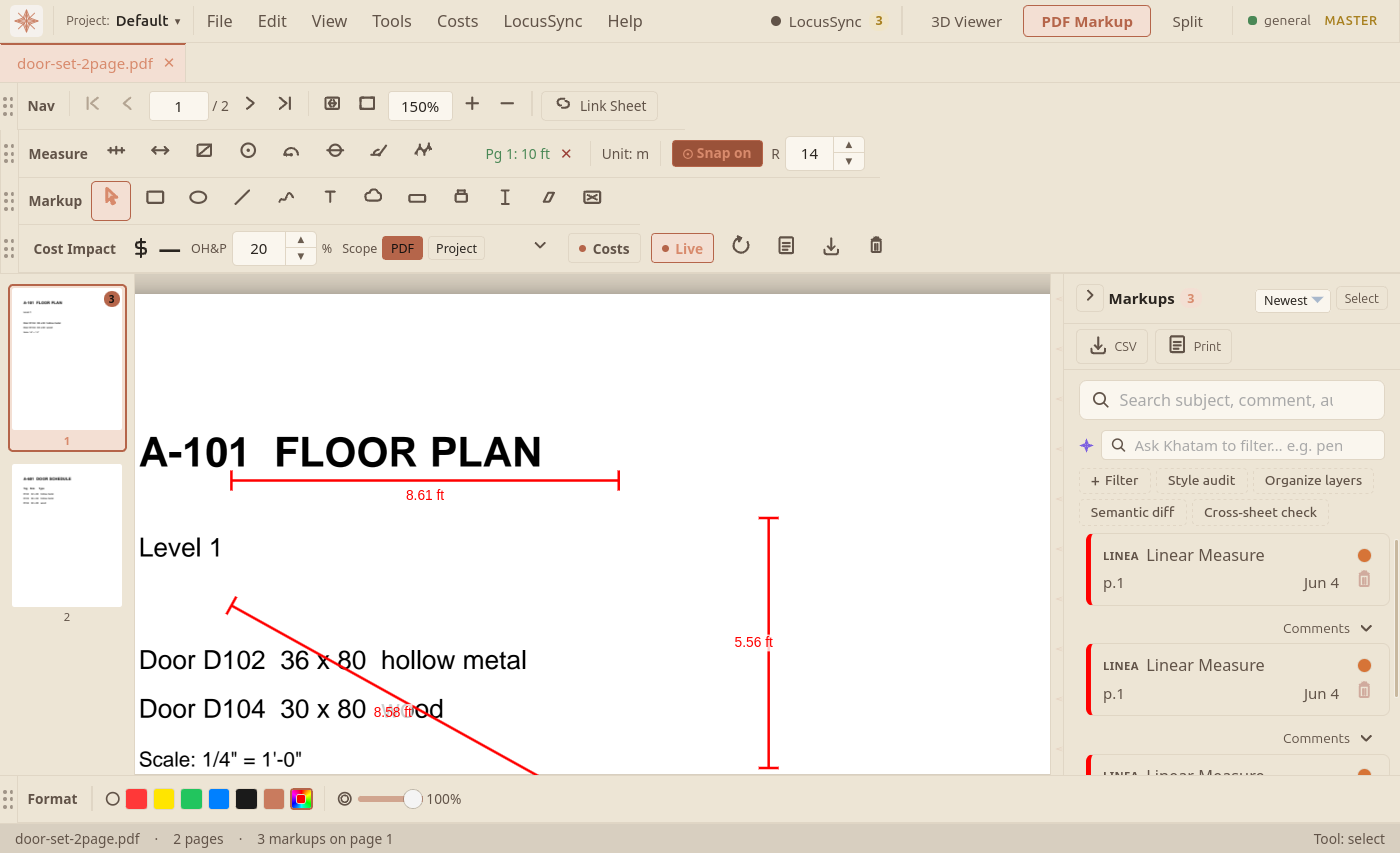
Measurement tools for quantifying distances, areas, and counts on scaled drawings. Enable via View → Toolbars → Measure. Once the page scale is calibrated, every measurement is labelled in real-world units — Figure 1 shows several linear dimensions on a calibrated sheet.
Calibrate
Before measuring, calibrate the drawing scale:
- Click Calibrate.
- Drag a line over a known dimension on the drawing (e.g., a wall labelled "10 m").
- A dialog asks for the real-world length and unit (m, ft, mm, etc.).
- The px-per-unit ratio is stored and used by all measurement tools.
Linear Measure
Drag between two points. A line with a distance label appears. If calibrated, the label shows the real-world measurement (e.g., "4.75 m"). If not calibrated, it shows pixels.
Area Measure
Click to add polygon vertices; double-click or press Enter to close. The enclosed area is calculated using the Shoelace formula and displayed as a label in the centroid of the polygon. Unit is m² or ft² depending on calibration.
Count
Each click places a numbered circle marker. All markers are auto-numbered sequentially. The total count is shown in the toolbar. Useful for counting fixtures, columns, or equipment items.
Radius
Click centre point, then click edge point of a circle. Displays the radius measurement with an R prefix. Works with calibrated scale.
Diameter
Click two opposite points on a circle. Displays the diameter measurement with a Ø prefix. More accurate than measuring radius × 2 for existing circles.
Angle
Click vertex point, then click first arm point, then click second arm point. Displays the interior angle in degrees. Useful for checking wall angles or roof pitches.
Polylength
Click to add multiple vertices along a path; double-click or press Enter to finish. Calculates the total length of all segments combined. Ideal for measuring continuous runs like cable trays or piping.
- Markup ToolsRectangle, ellipse, cloud, text, freehand, highlight, and cutout tools for marking up PDF construction drawings.
- Compare DrawingsOverlay two PDF revisions and highlight every visible change so revision reviews don't miss anything.